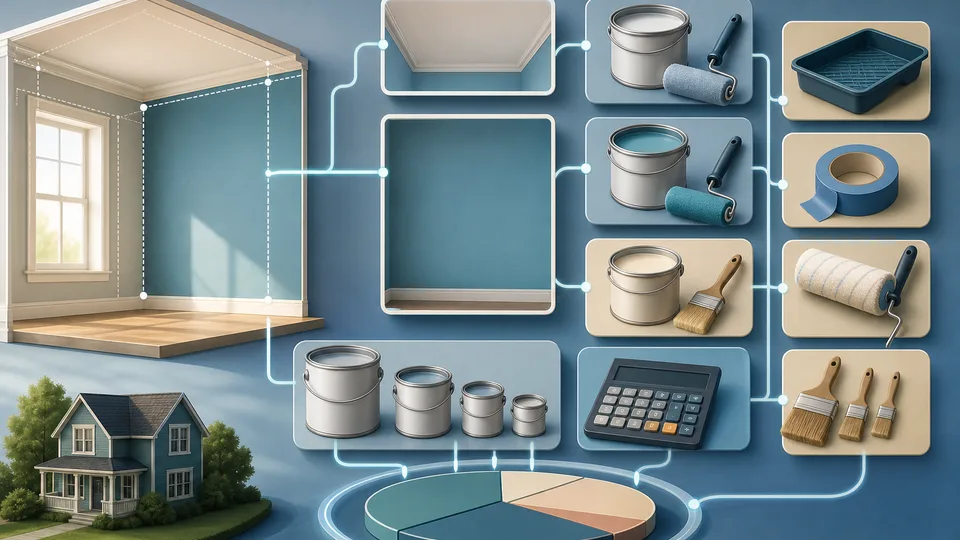
A wall-only paint estimate can be technically correct and still miss the cost of the job. It might tell you how much wall paint is needed, but not whether the room also needs primer, ceiling paint, trim paint, tape, rollers, trays, brushes, filler, or enough extra for touch-ups.
That is the difference between estimating paint quantity and estimating the paint shopping list. The first is about area and coats. The second is about products, coverage, tin sizes, surface condition, and supplies. If you only calculate wall area, the final basket can be a surprise.
The Paint Cost & Primer Calculator is built for that fuller estimate. It complements the Paint Calculator, which is best when you mainly need wall paint quantity.
Start with paintable area
The first step is still measurement. For walls, multiply room perimeter by wall height, then subtract doors and windows if they are not being painted. For a single feature wall, use that wall's width multiplied by height.
If you are not confident in the room dimensions, use the Square Footage Calculator or Multi-Room Area Calculator first. Paint cost depends on the area being right enough for the job.
Once the paintable area is known, separate the surfaces. Walls, ceilings, trim, doors, and built-ins may use different products, finishes, and coverage rates.
Primer changes the cost quickly
Primer is easy to forget because it is not always needed. Previously painted walls in a similar colour may only need two finish coats. New plaster, bare drywall, stained surfaces, strong colour changes, repaired patches, or porous surfaces may need primer or mist coat planning.
Primer has its own coverage rate and price. If the job needs one primer coat across the whole room, that can add a full product line before any colour paint is applied.
The calculator lets you enter primer coats separately so the estimate does not hide that cost inside an optimistic wall-paint figure. It still does not choose the correct primer; product suitability should come from the surface and manufacturer guidance.
Ceiling paint is a separate product line
Many room estimates forget the ceiling until the shopping basket is already built. Ceiling paint may be white, matt, and cheaper than wall paint, but it still needs coverage and tin rounding.
Ceiling area is usually length multiplied by width. If you are painting the ceiling, count its coats separately from the walls. If the ceiling is not part of the job, leave it out rather than padding the wall estimate.
This distinction matters when comparing options. A room refresh that includes ceiling and trim is a different cost from a walls-only colour change.
Trim and woodwork can be small but expensive
Skirting boards, architraves, doors, frames, shelves, radiators, and built-ins can use different finishes from the walls. Eggshell, satin, gloss, or specialist paints often have different prices and coverage.
Trim estimates are sometimes based on length rather than broad wall area. The calculator gives you a way to include trim paint as a separate allowance, so the budget reflects the whole room rather than just the largest surface.
If you are painting doors or detailed woodwork, keep notes. A single door and a room full of built-in shelving are not the same trim job.
Coverage rates are assumptions, not promises
Paint labels give coverage rates under expected conditions. Real coverage varies with surface texture, colour change, porosity, application method, roller type, and how heavily the paint is applied.
If the wall is rough, porous, or being changed from dark to light, lower the assumed coverage or add coats. If the estimate is based on perfect label coverage, it may be too optimistic.
Use the coverage number on the product you intend to buy. Do not mix a budget paint price with a premium paint coverage assumption unless that is genuinely what you are comparing.
Tin rounding affects the final basket
Paint is not bought in exact calculated quantities. If a calculation says 1.3 gallons or 4.6 litres, the purchase depends on available tin sizes. Rounding can change the cost materially, especially across wall paint, primer, ceiling paint, and trim paint.
It is normal to have some leftover paint. That is not always waste. A small sealed amount is useful for touch-ups if the colour and batch still match.
The calculator rounds product lines so the estimate behaves more like a shopping list and less like a theoretical area calculation.
Supplies are part of the job
Rollers, brushes, trays, liners, tape, dust sheets, filler, sandpaper, caulk, scraper blades, cleaning materials, and masking supplies can all affect cost. If you already own them, the allowance may be low. If you are starting from nothing, supplies can be noticeable.
Separate supplies from paint so you can reuse the estimate. The same room might have similar paint quantity next time but a very different supply cost if the tools are already bought.
For a wider renovation budget, the Renovation Budget & Contingency Calculator can help keep paint, fixtures, labour, temporary costs, and contingency in one broader plan.
A worked example
Imagine a 12 by 10 foot room with 8 foot walls. The wall perimeter is 44 feet, so the gross wall area is 352 square feet. After subtracting a door and window, suppose the paintable wall area is about 320 square feet.
If wall paint covers 350 square feet per gallon and needs two coats, the wall coverage required is 640 square feet, or about 1.83 gallons. That rounds up based on available tins. If primer is needed for one coat, add another product line. If the ceiling is 120 square feet and needs two coats, add ceiling paint too.
Now add trim paint and supplies. The final cost may be much higher than the wall-paint line alone, but it is also more honest.
Checklist before you trust the paint budget
Before buying, check the estimate surface by surface. Are the walls, ceiling, trim, doors, and repairs all included only where they belong? Is primer needed across the full room or just on patched areas? Are you using the coverage rate for the product you actually plan to buy, or a generic number that may be too optimistic?
Then check tin sizes and supplies. A calculation in litres or gallons still has to become real tins on a shelf. Supplies also depend on what you already own: rollers, trays, brushes, tape, filler, caulk, dust sheets, and sandpaper can be a meaningful first-time cost. Keeping these lines separate makes it easier to compare a quick repaint with a fuller decorating job.
If you are comparing paint ranges, keep each option internally consistent. A premium paint may cost more per tin but need fewer coats or cover better. A budget paint may look cheaper until lower coverage, extra coats, or more touch-up material is included. The calculator is most useful when it compares realistic product assumptions, not best-case numbers from different products.
What the calculator does not decide
The calculator does not diagnose surface problems, choose specialist primer, handle lead paint or hazardous materials, quote labour, or replace product instructions. If the surface is damp, damaged, contaminated, or old enough to raise safety concerns, get appropriate advice before sanding or painting.
Use the estimate to compare product options and avoid surprise costs. Confirm coverage, coats, tin sizes, finish type, drying time, and surface preparation before buying.
A better paint budget is built from surfaces, products, coverage, coats, rounding, and supplies. Once those pieces are visible, the shopping list becomes much easier to trust.